Creating a Bug in Azure DevOps
We might have seen how to create a bug from a TestCase let us now see how to create a bug in Azure DevOps using normal methods
1. Access Azure DevOps:
- Begin by navigating to your Azure DevOps environment.
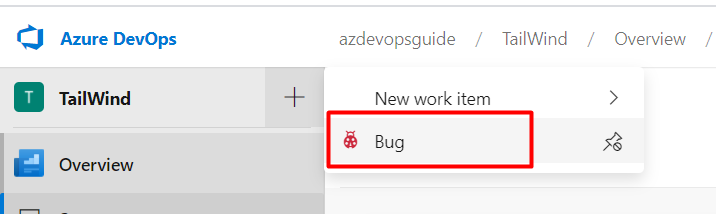
2. Initiate Bug Creation:
- Locate and click the “Bug” option prominently displayed in the top left corner.
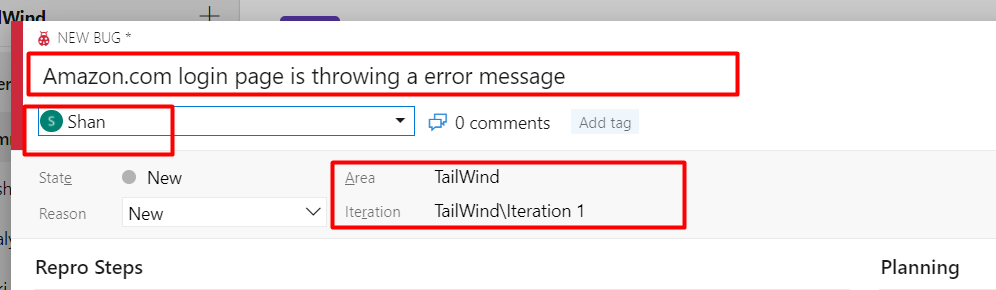
3. Provide Essential Details:
- Enter a concise and descriptive title for the bug.
- Assign the bug to the appropriate team member.
- Specify the relevant iteration and area path.
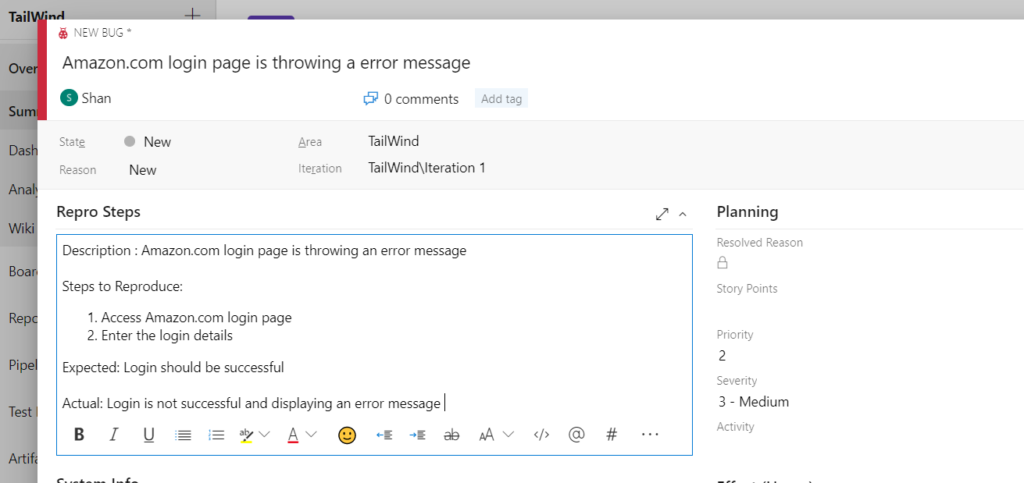
- Clearly outline the steps to reproduce the bug, ensuring accuracy and reproducibility.
4. Save and Finalize:
- Click the “Save & Close” button to create the bug.
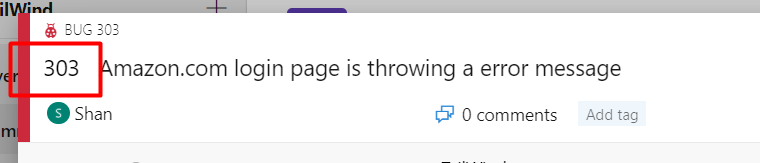
- Upon successful creation, a unique Bug ID will be generated and displayed adjacent to the Work Item form for easy reference.
Step 5: Upon successful creation, a unique Bug ID will be generated and displayed adjacent to the Work Item form for easy reference.
The Bug ID would be displayed next to the Workitem form as shown