TestCases once added sometimes needs to be edited also. There are many ways to edit a TestCase in Azure TestPlans but let us see here one of the easiest ways to edit a TestCase
Step 1: Go to search and enter the Work Item ID of the TestCase you want to edit and then open the TestCase
Step 2: Edit the TestCase as shown and then click on “Save & Close” button
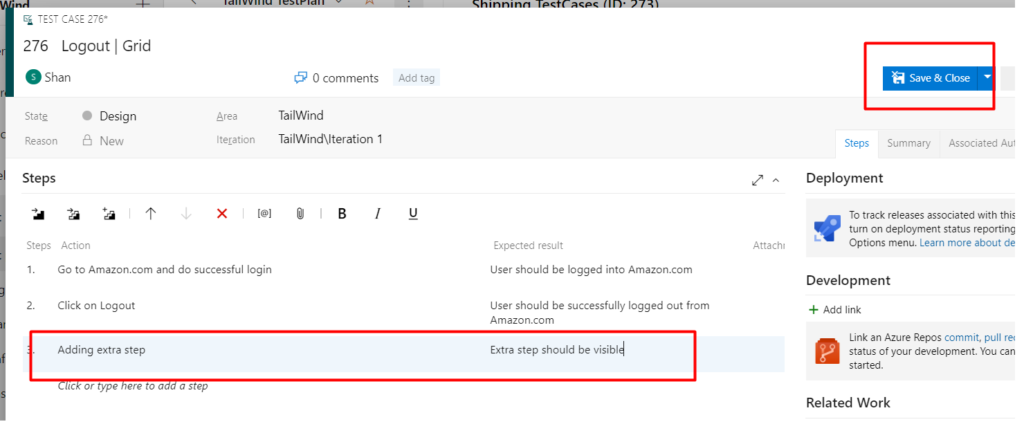
Once you click on “Save & Close” button the edited properties (Test Steps, Title) would be saved. The above one is not only the only option to edit a testcase we can also edit a testcase directly from the Test Plan where the Test Case is added.
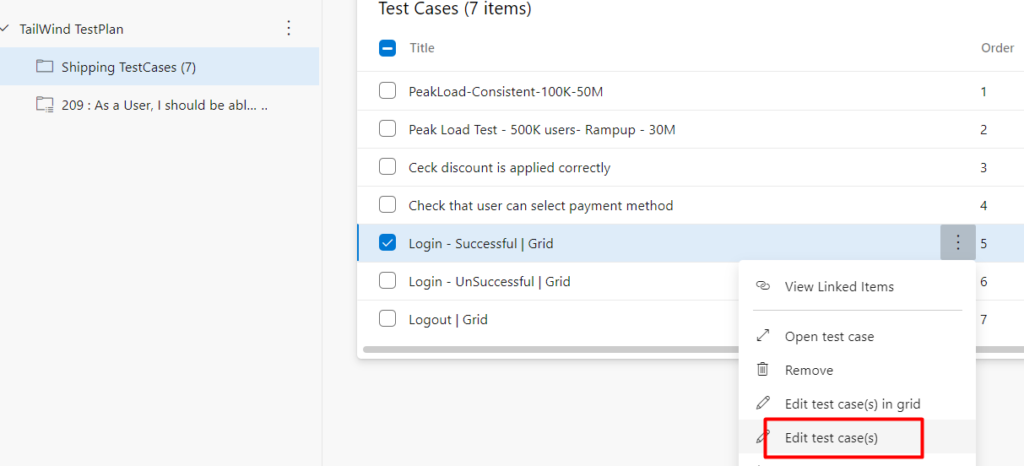
Step 3: Go to the TestPlan & select the Test Suite which has the TestCase that needs to be edited
Step 4: Select the TestCase & then click on the 3 dots next to it. After that click on the option “Edit Test case(s) to edit properties like AreaPath or just click on the Open test case to edit the testcase
And then again repeat the Step1 & Step 2 to edit the TestCase. There are some of the multiple ways to edit the TestCase