How to create Managed Disks from VHD in Azure
In Azure we can also create VHD’s or export an VHD and create a VM using that VHD.Let us see what are the steps that we need to do to create Managed Disks from VHD in Azure (VHD means Virtual Hard Disk)
Step 1: Go to Managed Disks
Step 2: Then create Managed Disks screen would be displayed
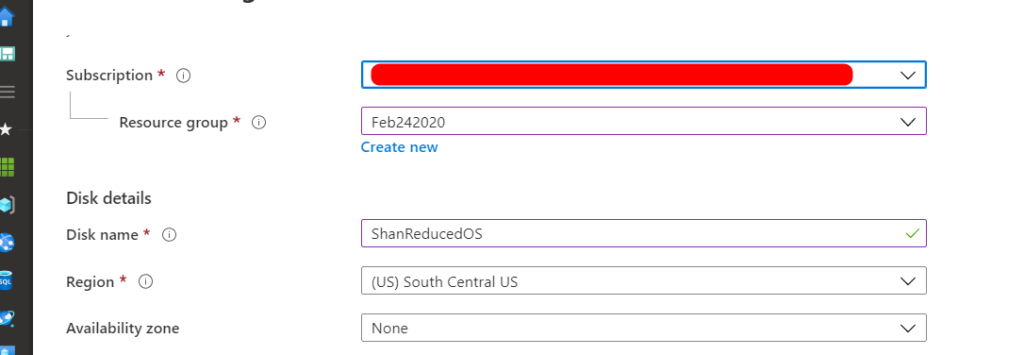
Step 3: Then select the Resource Group, DiskName and Region as shown here

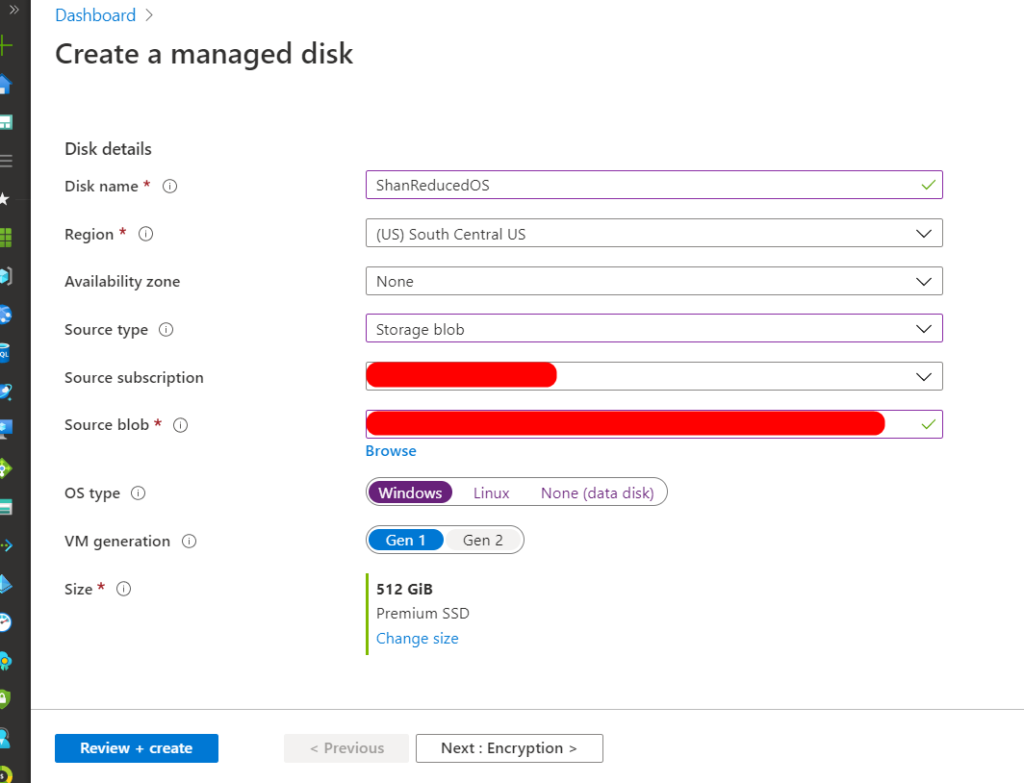
Step 4: Then Choose SourceType as “StorageBlob”
Step 5: Then click on Browse as shown

Step6: Then click on the Storage account where you have stored your VHD file
Step7: Then click on the Container and Choose the VHD file as shown

Step8: Then choose as shown and click on “Review+Create”

Step 9: Once validation is passed, Click on “Create”
Step10: Once the creation is successful, you can see the New VM in your Azure Portal
