We have seen earlier about how to create a TestPlan ,Here are the steps which will explain in detail about how to edit a TestPlan
Step 1: Click on TestPlans
Step 2: List of All TestPlans will be displayed as shown
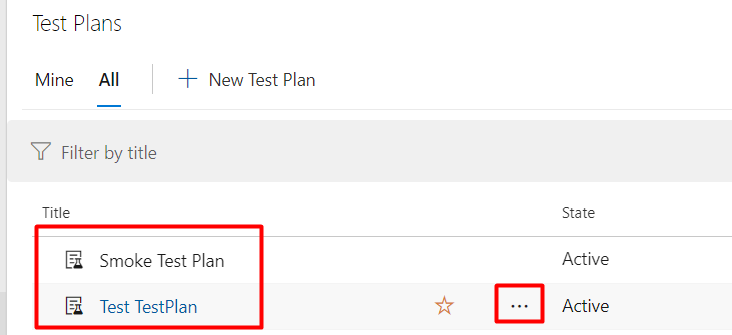
Step 3: Click on the 3 dots next to the TestPlan you want to edit & click on the “Edit” button
Step 4: Once you click on the Edit button, you will get a screen like this as shown

Here you can edit the title,description of the TestPlan and also you can add your comments to the TestPlan .In addition to that, you can also change the AreaPath & Iteration of the TestPlan
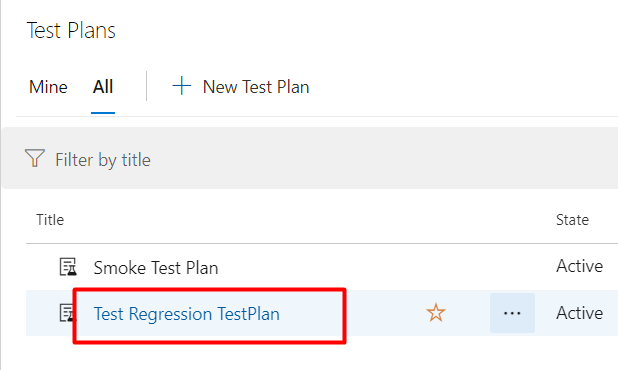
Step 5: After editing the TestPlan, Click on “Save” button.. if you have edited the title and save it, it will be visible immediately in the TestPlans List.
Step 6: As you see below the TestPlan will be visible with an updated title as shown