Running a TestCase for Desktop application in Azure DevOps
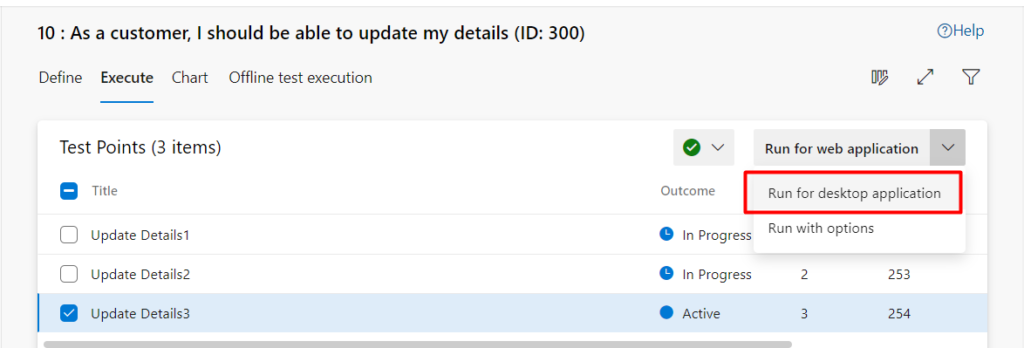
We have seen already about how to execute a testcase but let us see about how to execute a testcase for Desktop application. If you need to execute testcases for Desktop applications then you should have already installed Test Runner. Once you have installed it, click on Run for Desktop applications after selecting a TestCase in the Testsuite

TestRunner will open in a new window as shown below and then click on “Pass/Fail” button to execute the testcase as shown.You can click on “Pass or Fail” to mark the outcome of the step and if you fail the step it will ask you to enter the comment as shown


When you click on “Create bug” at the top it will open the new bug window and the TestRunner will capture all the System Info as shown below (This is the biggest advantage of the TestRunner) and the System Info will capture important details for Desktop application such as “Operating System – Name, Architecture, Processor model, Number of processors, Memory Available & Memory capacity”

All the above additional info will help to analyze the defects and see if there are any issues with the desktop application against which testcases are executed. In case if you are looking at executing testcases, you can see how we can execute testcases in Azure DevOps
